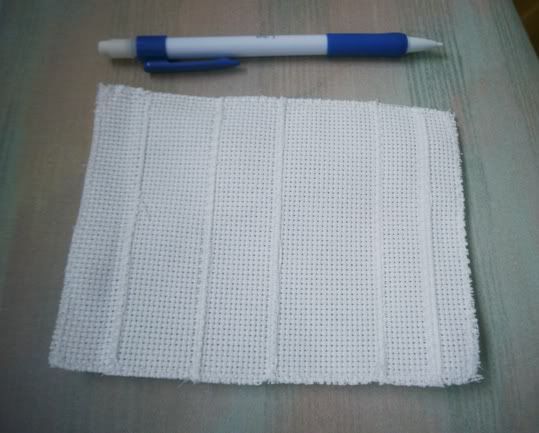
The first one was done on a piece of "Aida" fabric that was actually a patchwork sewn together from small leftover pieces. One mistake I made - if you plan to recycle your Aida pieces, don't follow me there -: I shouldn't have put it in the embroidery hoop. The sewing was very fragile, the edges just overlapped and it came undone at one point - I had to hand-sew it. But I managed to save it eventually.
So, for the macramé. The tree is made upside down. I put in green perle thread (#8) and started to make square knots. After one row, I used two thread of each previous knot to make a new one, thus creating a net-like pattern.
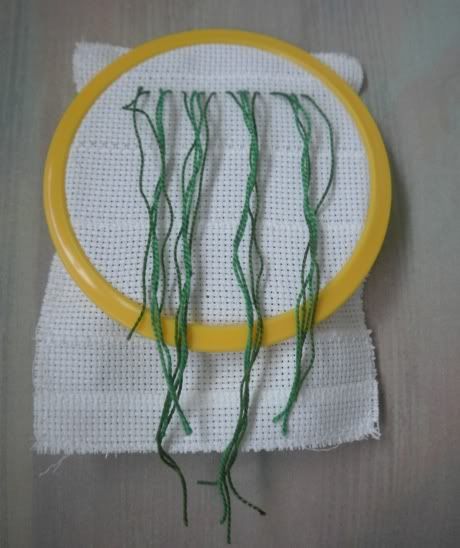
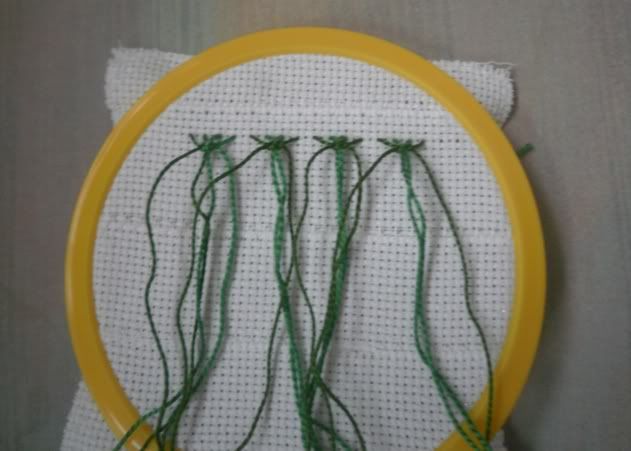
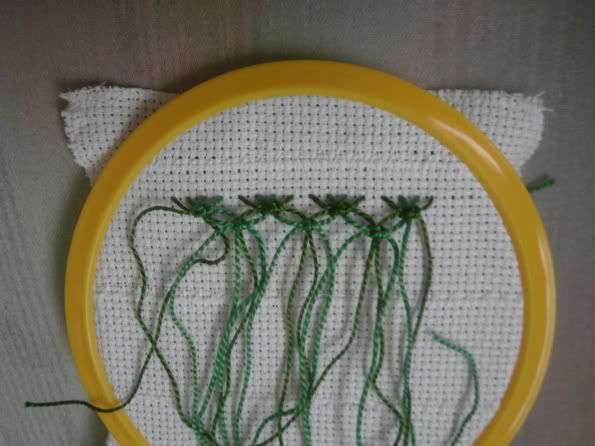
As I was going I made one knot less at the edges. This made the slanted side of the tree. I simply put the threads in a needle and pulled them to the other side. Also, I wanted to secure the macrame to the fabric, so after the fourth row I made a row of cross stitches in red, as decoration on the tree.
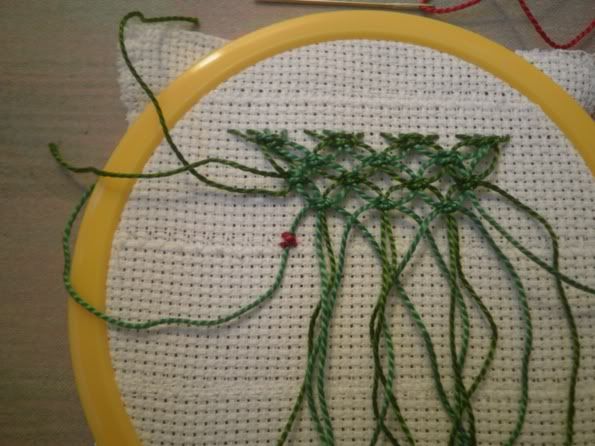
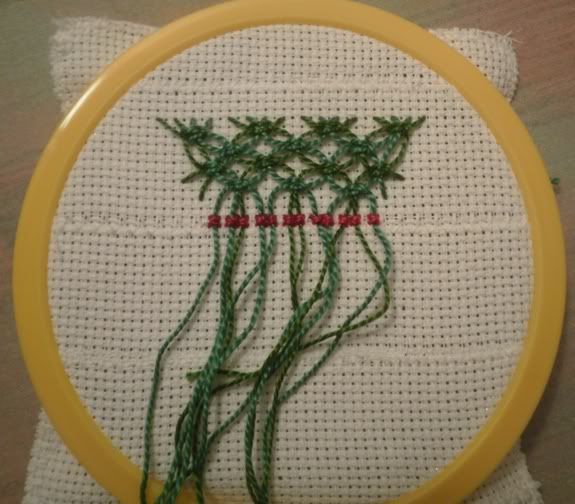
Then I continued in the same manner, leaving out knots at the ends, and sewing the threads down once more. I think, in the pictures you can see well how it was done.
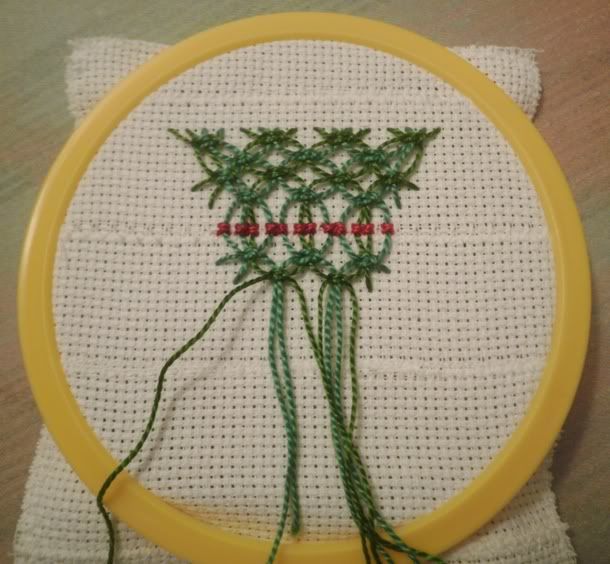
And finally, turn it upside down:
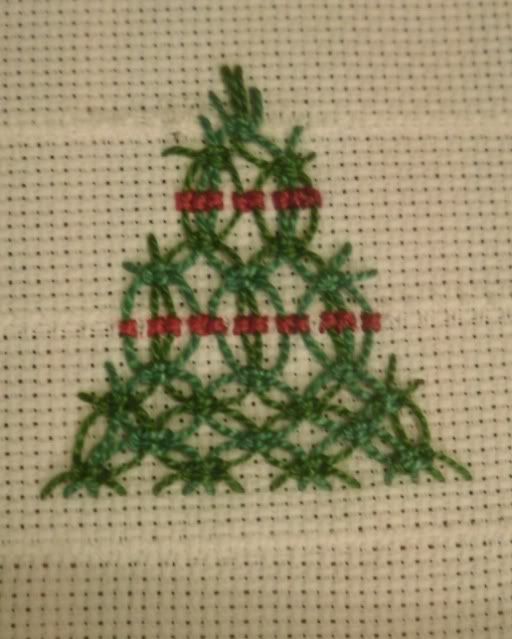
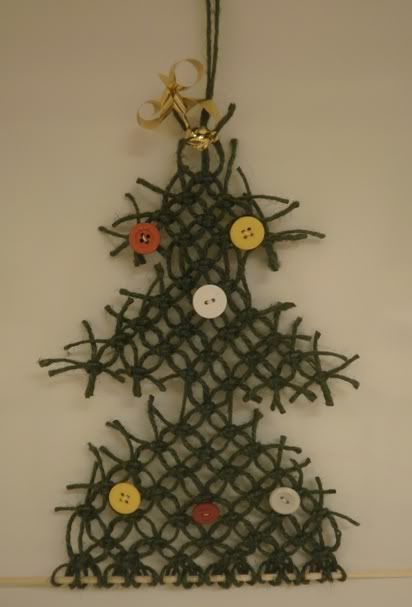
The second one is a bigger tree, about 30 cm tall. It was made of green(ish) hemp string. I hang the string on a wooden rod, and made the tree. Unfortunately I didn't make progress photos. The only tricky part was how to do the three "levels". Finally I did this: I left out knots at the ends, just as before, but later used the same threads for knots higher up. That resulted in straigth lines that were cut at the very end. Ta-da! Add some buttons for decoration and here is your Christmas tree. Done in about 30 minutes, too!
3 comments:
Wow, what a fantastic idea, they look great!
Love those trees....how clever you are. thanks for sharing.
wooooowwwww
so simple and CLEVER method!!!!!
wow
love it
Post a Comment