9 things you should know about biscornu - and my own crazy ideas to add.
I love biscornus. Do you also? Of course, you do :D
I have collected some facts and links about biscornus, and added some of my own ideas. (And I have to admit, I have long wanted to write one of those posts that start like "X things you need to know…" Silly, right?)
1. A biscornu is a - usually small - cushion that is formed by two squares sewn together. Its distinctive shape is given by the fact that each corner is sewn to the middle of one side, making it really interesting.


(The pattern for my Easter biscornu you can find here.)
2. The name comes from French. Some say it means quirky, irregular, others say it means two-horned. Where the thing itself comes is unclear, at least I could not find any information about who made the first one. If you know, please share it in the comments.
3. A biscornu is usually embroidered in cross stitch or blackwork, but I have seen other embroidery on them, too. I love this hardanger biscornu by The Victoria Sampler, I am planning to make it one day.
4. The embroidery pattern is usually designed so that one side is dominant, and the other side (the backside) has just a small motif. But there are also two-sided biscornus, like the Easter-biscornu above.


(The patterns for these are here and here.)
5. The embroidered design is framed with a line of backstitch, which is then used to sew the two pieces together: you whipstitch going only under the thread, and not in the fabric, making one whipstitch in each backstitch. That's why it is important to have the exact number of stitches in the backstitched lines.
I simply love the look of this whipstitching, and was using it in other finishes as well. See, for example the sides of this bookmark.
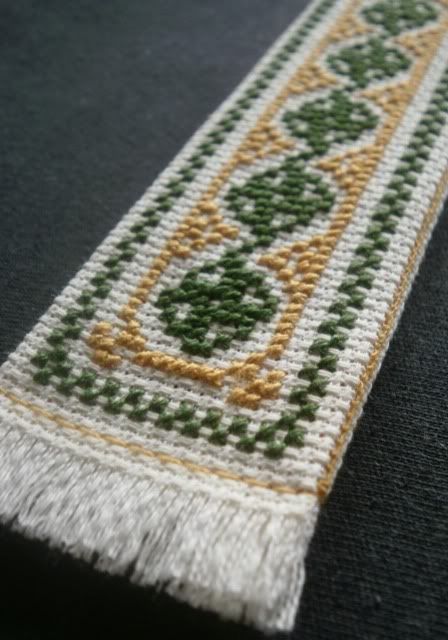
If you need more detailed instructions on how to make them, look here and here, for example.
6. A biscornu is usually quite small, between 5-10 cm but there is nothing to stop you from making smaller or bigger ones. I have made a big one, and a few very small ones.
This one was about 15 cm across.

These are really tiny:
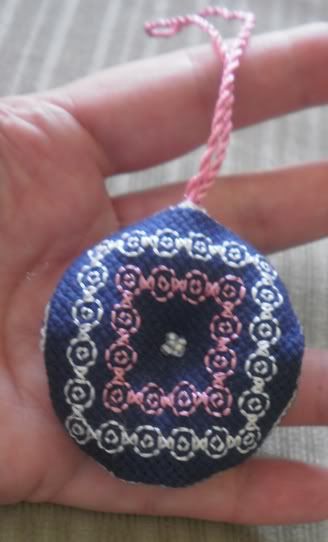
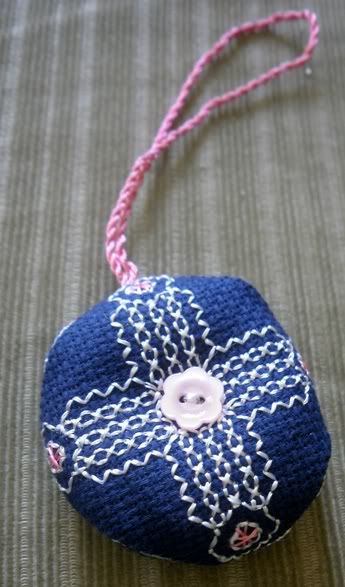

7. A biscornu usually has a button in the middle, that is sewn so that the two sides are pulled together, as you can see in some of the pictures above.
But it is not compulsory, you can omit it or substitute with something else, like beads, ribbons, a charm etc.
Here is an example where I used a tiny ribbon bow:

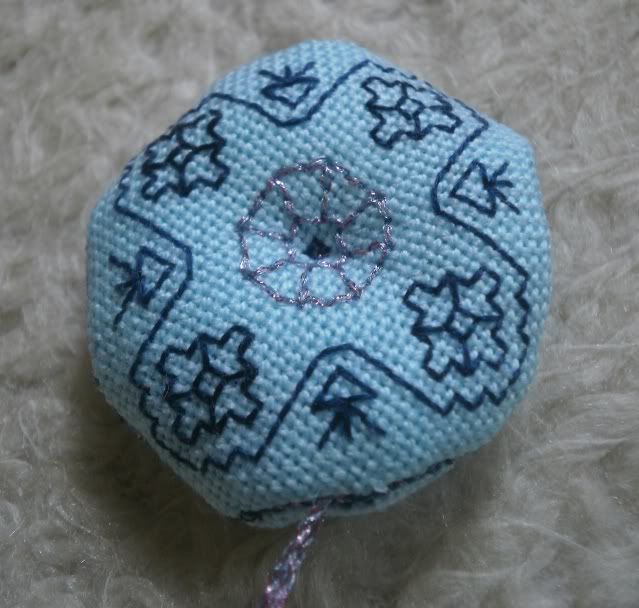
And here is one where I did not pull the middle together, so the biscornu has a rounder shape, and I like this as well.


The pattern for the snowflake biscornu you can find here.
8. A biscornu is usually used as a pincushion, but it is also perfect for a hanging decoration, Christmas ornament etc, you just need to add a cord.

9. There are many variations, the most interesting is perhaps the 15-sided biscornu. I have never made one (it is also on my "to try one day" list), but you can find a really good tutorial here.
I hope you like this little summary.
Please, come back in a few days to read about variations on the biscornu (and other shaped pincushions) that I have come up with. COMING SOON!