I used a lovely Hungarian traditional cotton fabric to line this bag. I had a stripe cut off which was roughly the right width (about 20 cm), so I just had to cut a piece of it twice the height of the bag. Sorry, I didn´t do any measuring just adjusted it to the bag. I folded the fabric in half, this is how it looks with the bag:
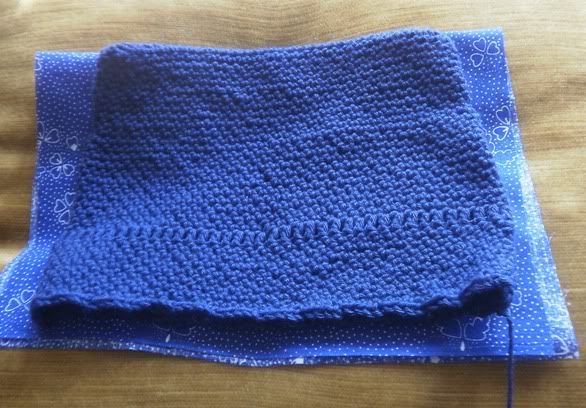
Then I cut off a little from the corners, to follow the shape of the bag. I didn´t want too much bulk in the corners.
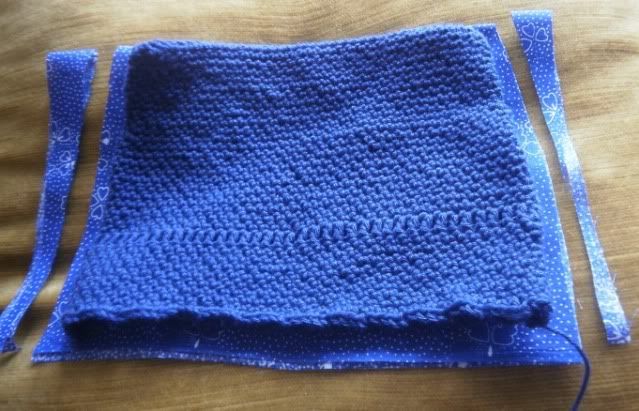
Then I folded the fabric right side in, and sew together the two sides.
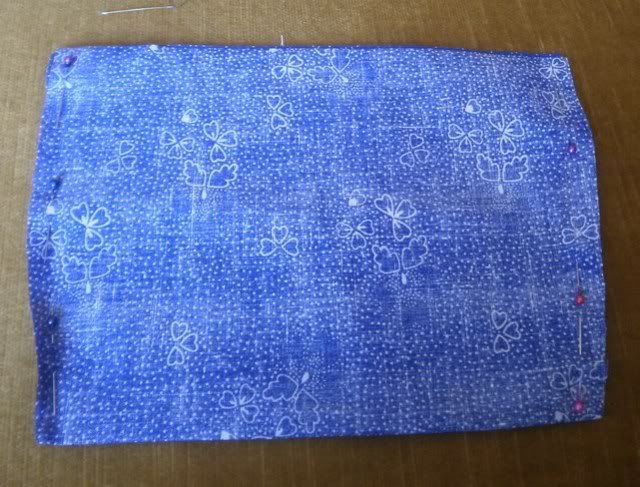
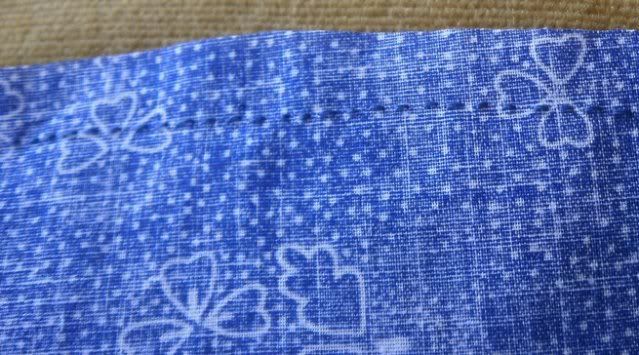
I stitched with hand and used backstitch, this is how it looks from the two sides:
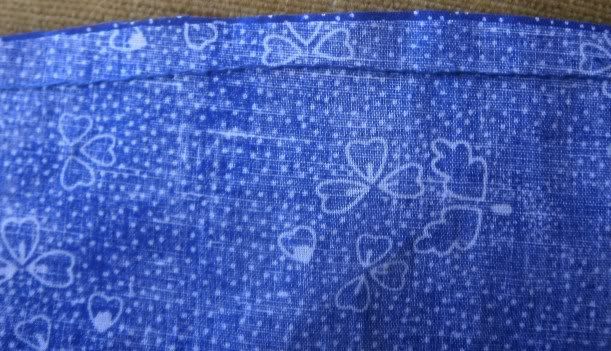
This is how it looks when I turn it right side out - but then I realised I don´t have to do it. :)
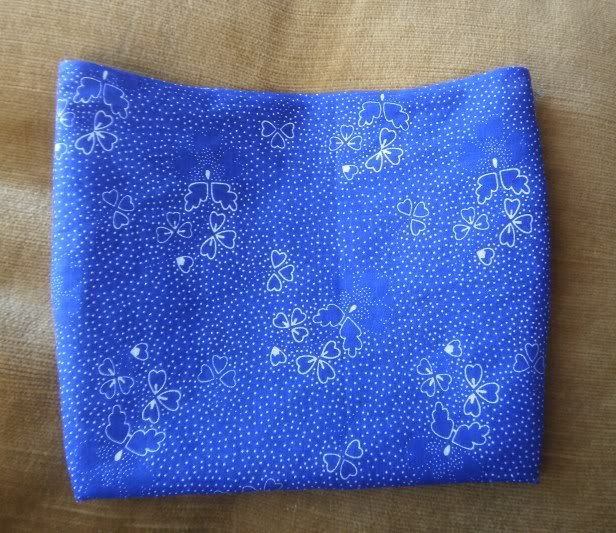
Because the lining goes in the bag so that the right side faces inwards:
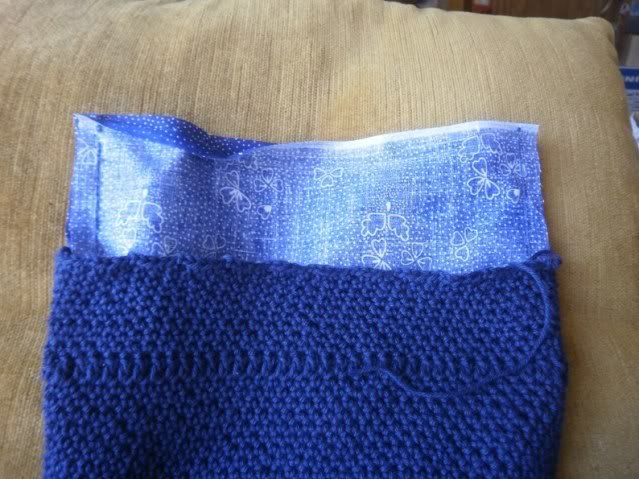
Then I had to adjust it a little. Since the crochet is flexible, it is possible to smooth out the fabric quite nicely inside. This is how it looks then:
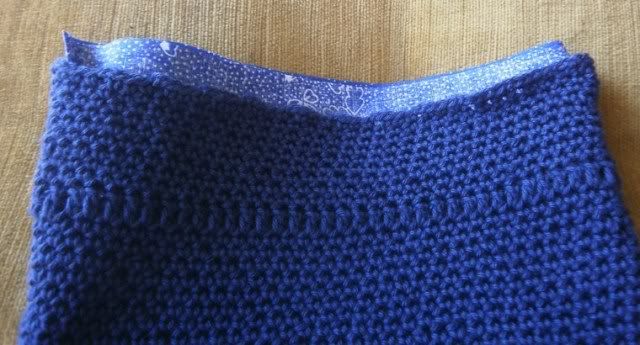
Now only the edges are left to stitch. First I folded and pinned them, then I sew them to the crochet with very small stitches.
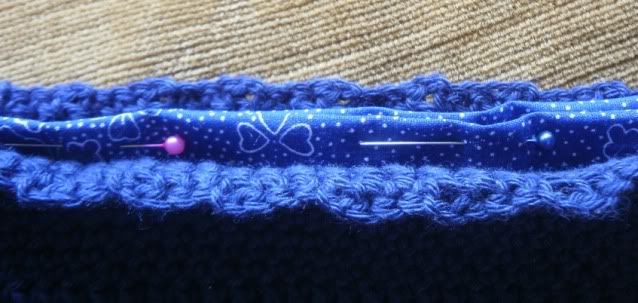
Unfortunately I don´t have a zip with me here and don´t want to spend money when I have a few at home, so that will have to wait.
But here is a nice tutorial how to sew in a zip, if you need it.
While making the previous two bags, I had some experience with it. With the first, I sewed in the lining first, then the zip. With the second, I tried to put the zip´s fabric part between the crochet and the lining. It was much more difficult to sew and it wasn´t better looking at the end, so I chose the first option this time.
As for the embellishment: I want to wave in a nice looking ribbon in the double crochet row this time, so that will also have to wait until I am home.
The flowers on the previous bags were made using this series of crochet tutorials on YouTube by Theresa:
I think I will make them again, they are so well explained in these tutorials.
I hope I helped if someone wants to make something similar.
3 comments:
Another great tutorial and so well explained. I hope you can do the zip part once you're back home Agi as I like the fact your tutorials are so easy to understand.
Thanks so much for doing this, I'm going to give it a go once I get come more time.
:)
Thank you :)
I am not sure I will have enough time to finish this at home. I will only have one week, have to spend it packing and arranging things and then I am coming back.
You can sew! You can crochet! You're a true master!
Post a Comment