1. Cross stitch (or any embroidery) on one side, backing fabric on the other.
The big biscornu I showed you last time, was made from a cross stitched square and a piece of fabric on the backside (unfortunately it does not show in the picture, and since it was a gift to someone, I cannot take more photos). I did not do the backstitched border and the whipstitching on this, I simply sewed the two squares right sides together, one corner matched to the centre of the other square. I sewed by hand, as I did not have a sewing machine back then.
I was wondering if it was possible to do it "properly", I mean with backstitch and whipstitch, even when you have another type of fabric on one side. The key would be to make backstitches on the other fabric the same size as on the Aida, then it should work. Need to try one day. Has anyone done this?
2. Biscornu made of felt, with blanket stitch.
I often do embroidery on a piece of felt when I sit in the classroom with my year 5 classes. When they have started their sewing and they don´t need my help so often, I sit down at the table with them and doodle with a piece of felt and some leftover thread pieces. They like to see that I sew for my own pleasure and often get inspired by what I do. This little embroidered piece was the product of such lessons. I then put it together with another square the same size and sewed them together with blanket stitch. It turned out OK, although it was much more difficult to match the corners than with Aida. It is not easy to be exact with the blanket stitch, and the felt stretched out a little as I was sewing. Some corners are not perfect, but all in all, I like the result.
I think it probably works with any other fabric plus blanket stitch - felt is just easier because it does not fray.
3. Biscornu with no sharp corners
Another variation that I came up with is what I call "the wavy biscornu". I designed the pattern so that I cut off the corners of the squares, and the biscurnu becomes softer in appearance, the corners are not so pronounced. I really like the effect.
Here and here you can see how the pattern looks like for such a biscornu. I marked with arrows on the pattern how the squares should be put together.
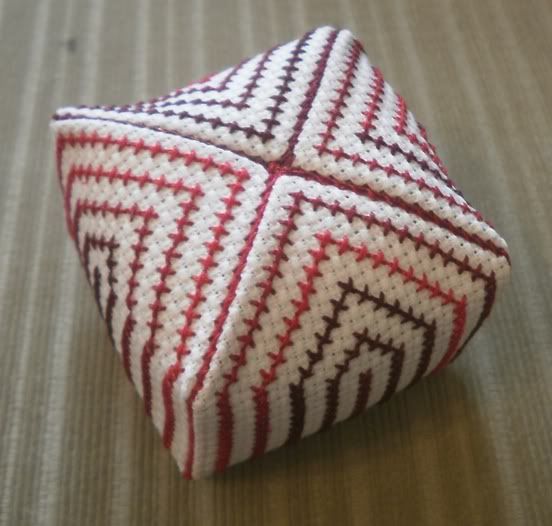
4. A cube pincushion
Here is another shape I came up with: it looks like a cross shaped pattern when embroidered, but then it comes together to a little cube. For a long time this was my most popular pattern on the blog. :)
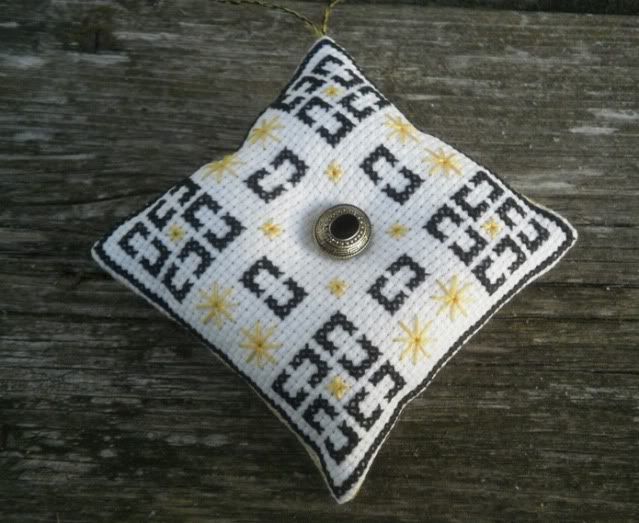
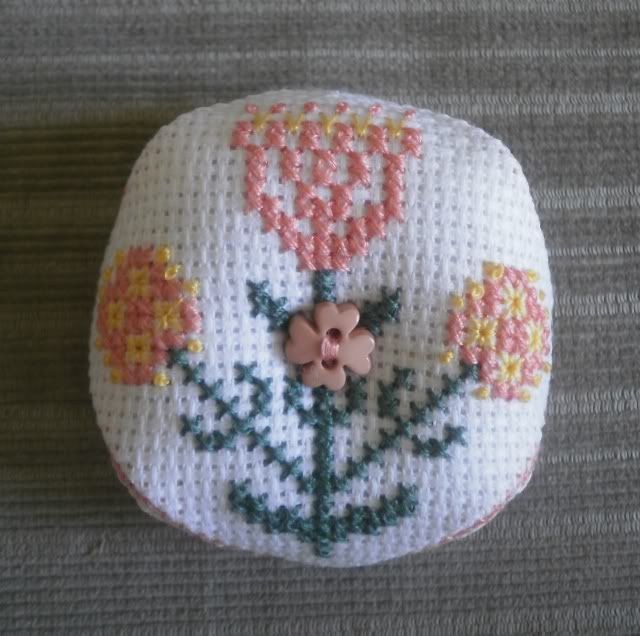
5. Then, of course, there is the more traditional pillow-shaped pincushion, that can also be done with a button in the middle:
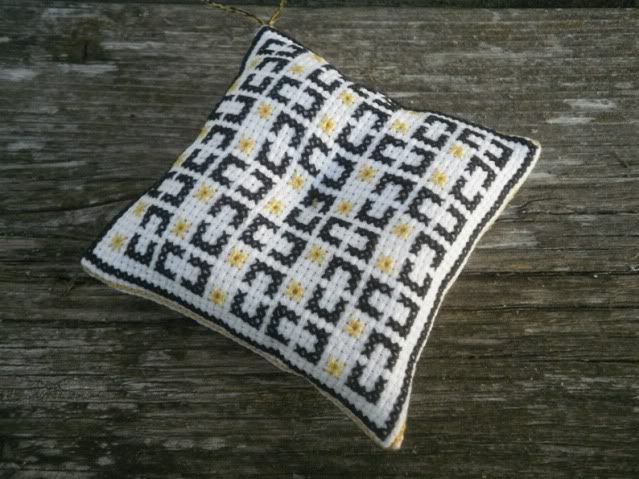
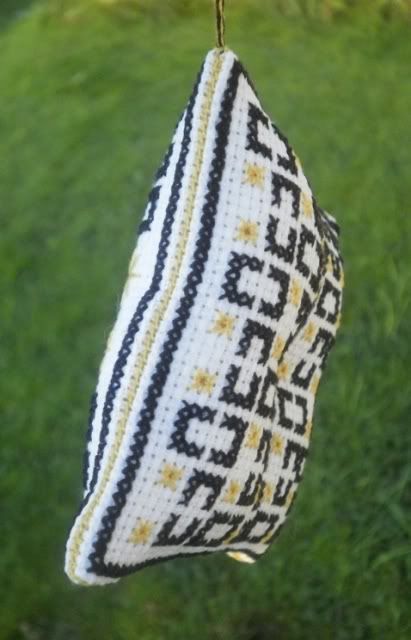
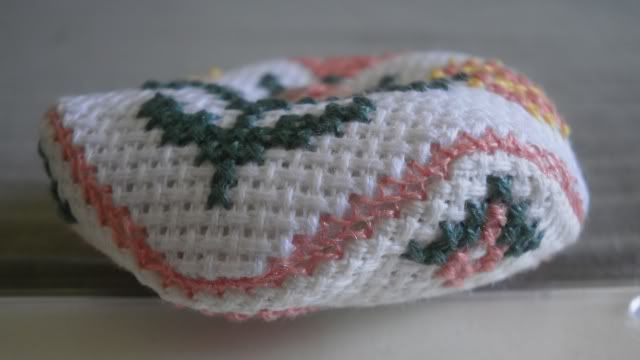
6. A variation on this is the so called mattress pin cushion, when you sew a narrow rectangle on all the four sides between the two squares. This is what I did with my latest pattern:
If you need detailed instructions for this type of pincushion, you can find one on this blog.
If you find a biscornu (or any square) pattern that you like, it is easy to turn it into a mattress pincushion. Design the small rectangles yourself: they should be the same width as the squares, and only 10-12 stitches high. Then find a small element in the original pattern that you can put in these rectangles.
7. Bi-biscornu
I have also come up with another shape that I called the "bi-biscornu". It is a cross between a biscornu and a mattress pincushion.
I have promised to write how it is made but never did, so perhaps it is time to do it.
Here is the pattern. It was made before I got my cross stitch program, it is not a pdf file, just a picture. Right click to download.
As you see, the pattern has exactly the same pieces as for the mattress pincushion. To sew together, match a corner of a small rectangle to the middle of a square. Start whipstitching together. Then add the next rectangle and the next. Then sew the other square the same way: the middle of the square meets the corners of the rectangles. I hope it makes sense.
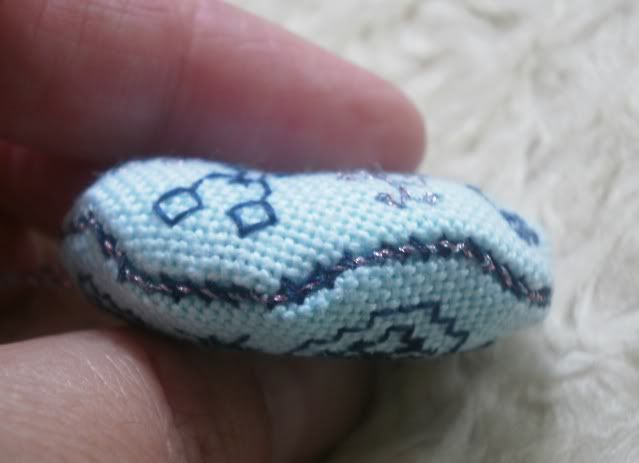
8. And finally, some unusual shapes I have experimented with, that also use the backstitched line + whipstitching method.


These are patterns for sale, you can find them here.
I hope you can find inspiration for pincushions and biscornus in these posts. Please, send a picture if you make one of these, I would be happy to post them on the blog.
Happy stitching!




No comments:
Post a Comment